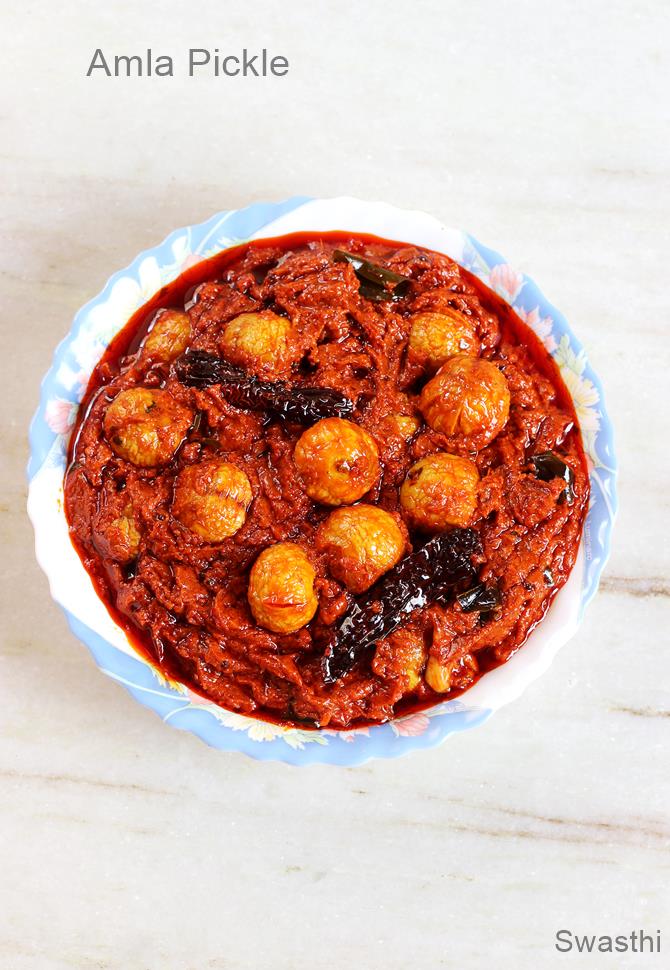
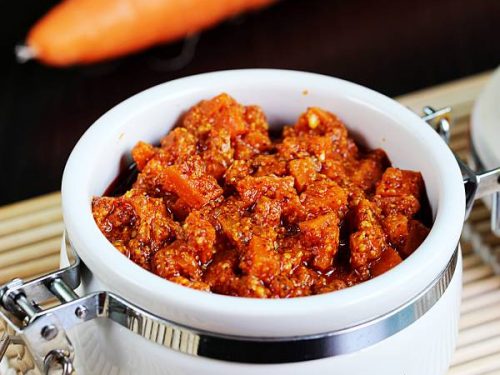
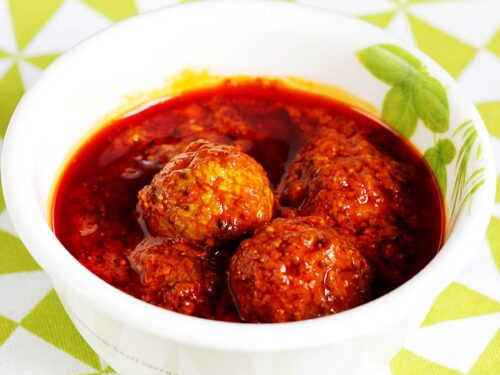
I had many requests from readers for this recipe as the pickle keeps good for 1 to 2 years. I was on a 6 weeks Vacation to India and just returned back home. This time I got to see the entire process of making this so thought of sharing it with some step by step pictures that I have shot. Amla pickle is prepared during Jan to feb but it is best to consume during the summers. As the pickle ages the cooling properties of the amla are said to be enhanced. This is best eaten with plain rice and melted ghee. But can be served in any Indian meal preferably with rice & dal. To prepare the pickle, choosing the best quality of ingredients is very important. We make use of the freshly milled red chilli powder which imparts a bright color to the pickle. I have added more details of each ingredient in the step by step photos. The ingredients mentioned in the recipe card will yield you one kg of amla pickle. We made the pickle with double the quantities mentioned in the recipe card. So please do not gauge the quantity of ingredients you see in the step by step pictures with the quantities mentioned in the recipe card. They will not match. For more pickle recipes, you can checkCarrot pickleAmla avakayaInstant mango pickleMango avakaya
How to Make Andhra Amla Pickle
- Sun dry the following for preparing the pickle. Make sure all of these are free from moisture. Ingredients to sun dry
Garlic cloves without peeling just for sometime to ensure there is no moisture.Crystal salt after cleaning for 1 to 2 hours45 to 50 ml lemon juice for 1 hourRed chili powder if using ready made or packed for 30 mins just to ensure there is no moisture
Utensils to sun dry
Glass bottles or bharani or jaadilu / ceramic pickle jars – Wash thoroughly with mild soap and dry it.1 large wide stainless steel or ceramic utensil to mix the pickle.1 steel pot to soak tamarind.1 steel plate to transfer the amlas.Mixer / blender jar for 10 to 15 mins – just to ensure it is dry.Small dry mixer jar to powder methi seeds.1 to 2 wooden or steel ladles for mixing.optional – If making in large traditional stone wet grinder – wash and dry that as well.
- Wash amlas thoroughly and drain them. Spread them on a cloth. They should be moisture free before using. Make 3 to 4 incisions on each amla so that the spice and salt goes inside them and they taste good.
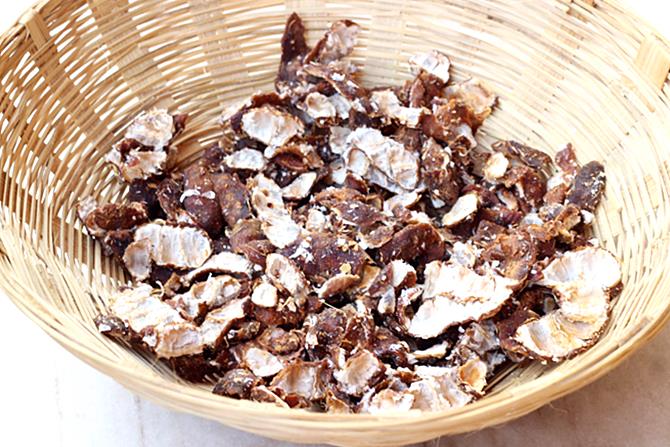
- Deseed the tamarind. Discard the shells if any along with the seeds. Remove fibers on the sides if any and clean it thoroughly. Spread it in a wide plate or basket. Sun dry for few hours just to ensure that it is free from moisture. We dried it from 1 to 4 in the noon.
- Bring 3 cups of water to a rolling boil. Turn off the heat and cool this completely. We do this simultaneously while the tamarind is sun dried.
- Place the tamarind in a steel or ceramic bowl. Pour 1 ½ cups of boiled and cooled water over the tamarind. Discard the water completely. This is done just to rinse it with clean water. Do not do it with normal water, make sure you use only boiled and cooled water.
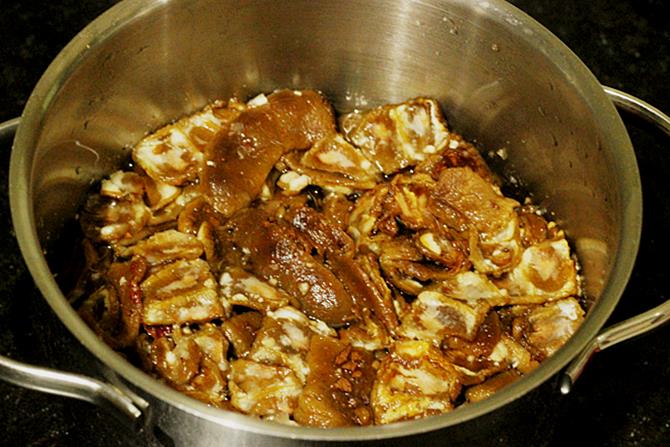
- Pour more water just as needed to soak the tamarind. Do not pour the entire left over water, just use as needed. Water must be just enough to soak the tamarind. The water will be absorbed by the tamarind. If it absorbs all the water and looks very dry, you can pour some more water. Here is the picture. Cover this and set aside for 6 to 8 hours in a dry place. We did this just before going to bed the previous night. You can keep this up to 12 hours. Since it is soaked in boiled and cooled water it doesn’t go bad.
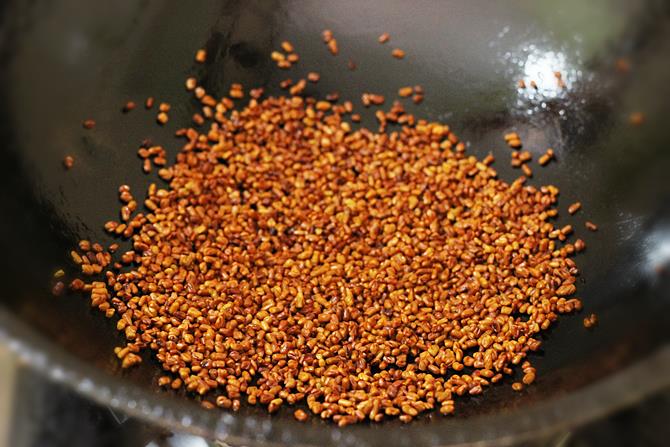
- The next morning, Roast methi seeds in half tbsp of oil on a low to medium heat until they turn dark golden. They begin to smell good when they are done. Do not burn them otherwise the pickle will turn bitter. Cool this completely and make a fine powder. Set this aside.
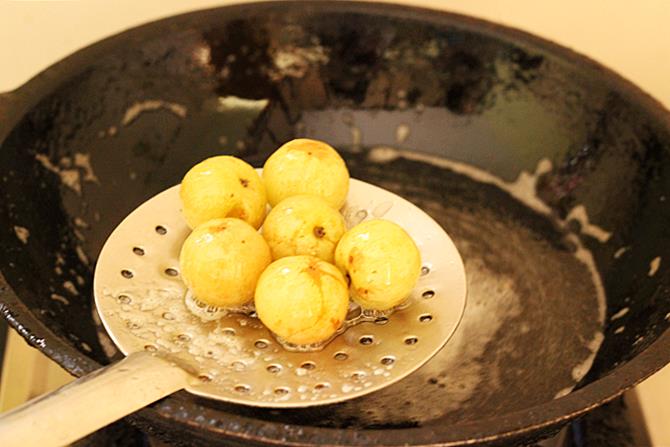
- Heat oil for frying the amlas. When the oil is hot, fry the amlas in the batches until the raw smell has gone. This takes only about 2 mins.
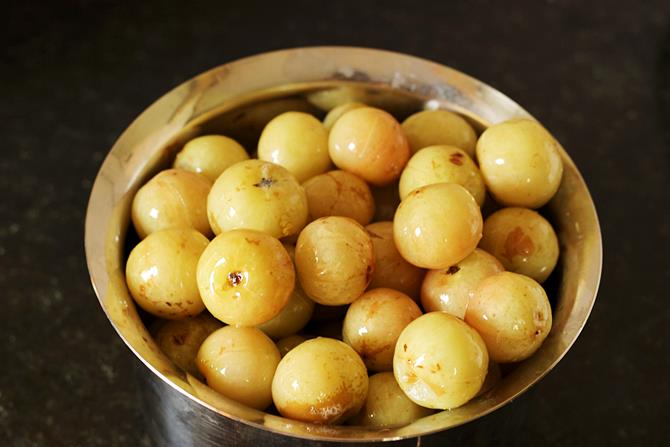
- Transfer them to a wide plate and cool completely.
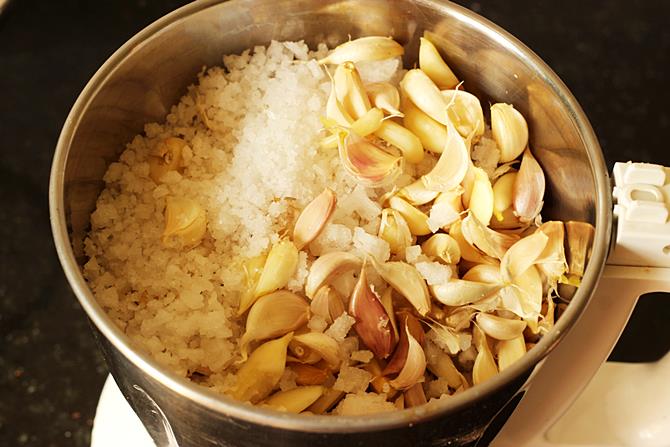
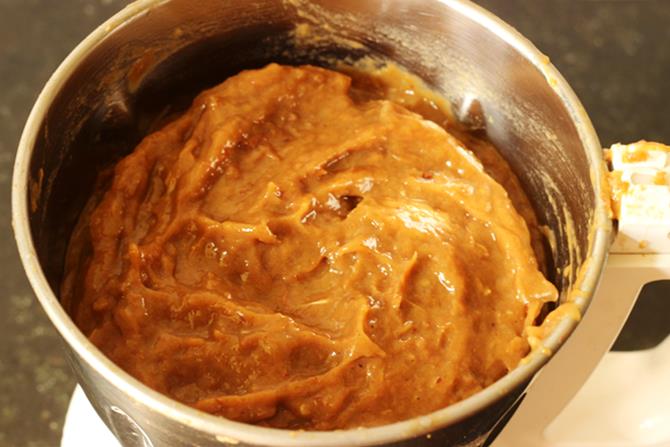
- Add crystal salt and garlic to a mixer jar. Blend well.
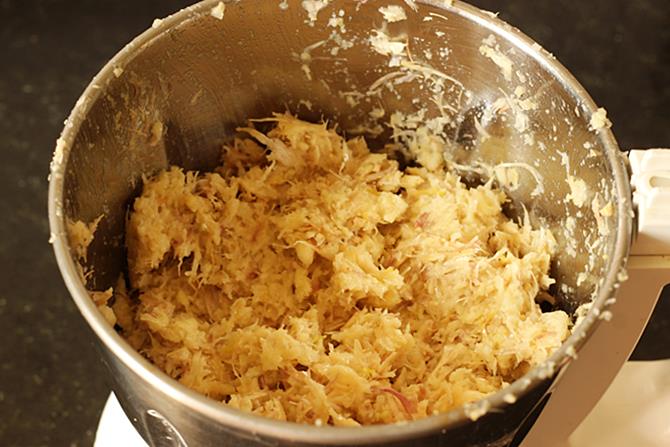
- This must be smooth. As we made the pickle in large quantity, the garlic was then moved from the blender jar to the traditional wet grinding stone (rubbu rolu in telugu, aatu kallu in tamil). Garlic and salt mixture has to turn smooth. If making in small quantity it can be made in the blender itself. Make a smooth paste of the garlic and salt. Set this aside to a large bowl.
- Wash and dry your hands well. If possible warm up the hands near the flame / fire. Squeeze the tamarind pulp well and remove any fibers if left. Add this to the blender jar and make a smooth puree. Transfer this to the garlic mixture.
- Mix them up well and blend them in batches until both are well combined. Since we prepared in large quantity, we used the traditional wet grinding stone. Transfer that back to the bowl. I have no pictures for this & the next step as I was away from home.
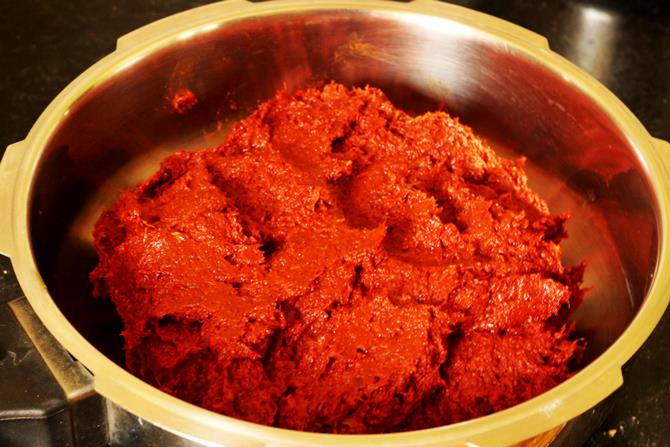
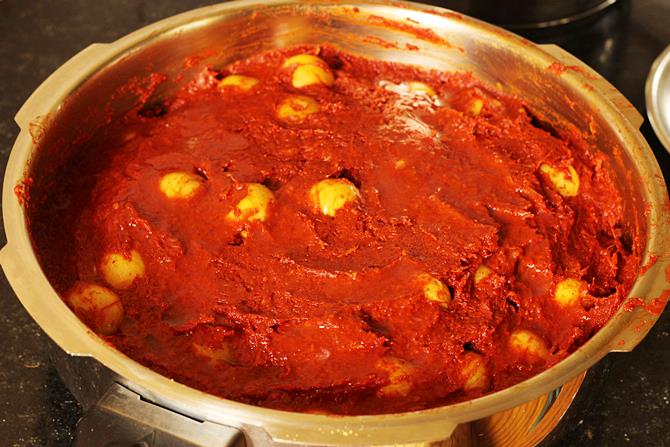
- Add red chili powder to the blended garlic and tamarind mixture. Mix everything well.
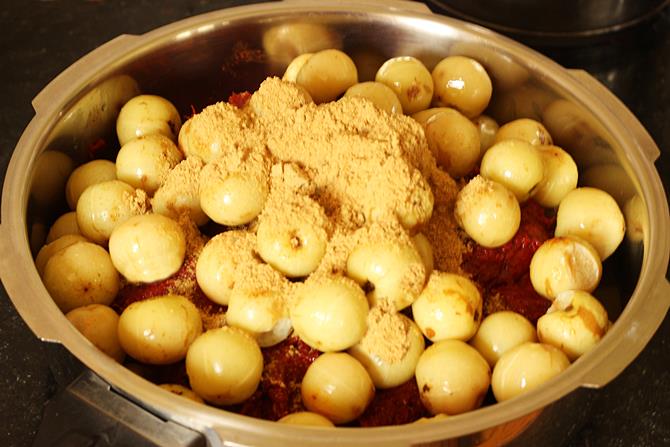
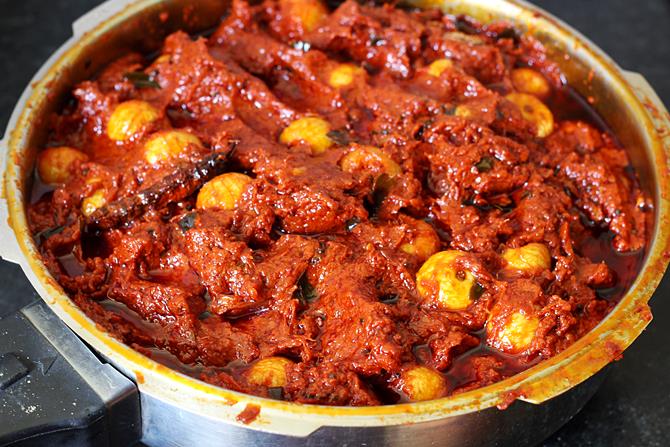
- Add the cooled amlas, methi powder and pour the 1 tbsps of lemon juice. keep the rest of lemon juice aside.
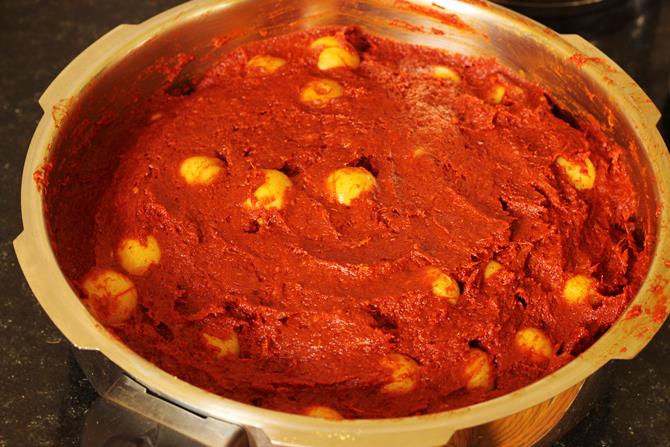
- Mix everything well.
- Taste the pickle to check if there is enough salt, tang and heat. We added the rest of the lemon juice and gave a good mix.
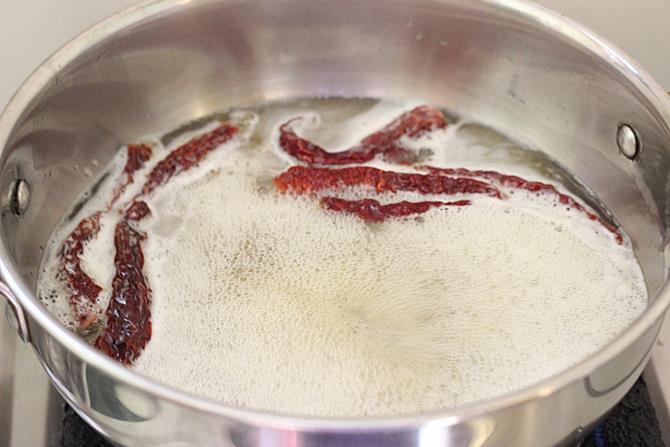
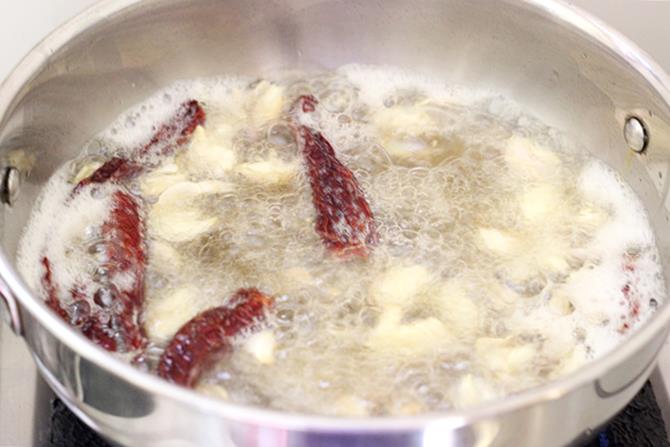
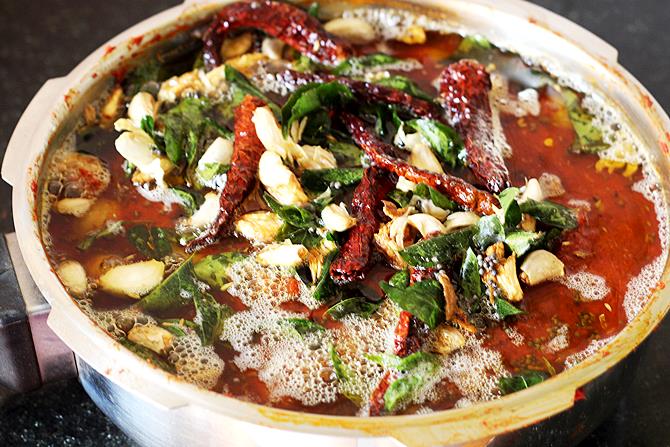
- Heat the rest of the oil in a kadai. When the oil is hot enough, add in some mustard, crushed garlic and broken red chilies. You can also add in 1 tbsp of chana dal.
- Keep the flame medium.
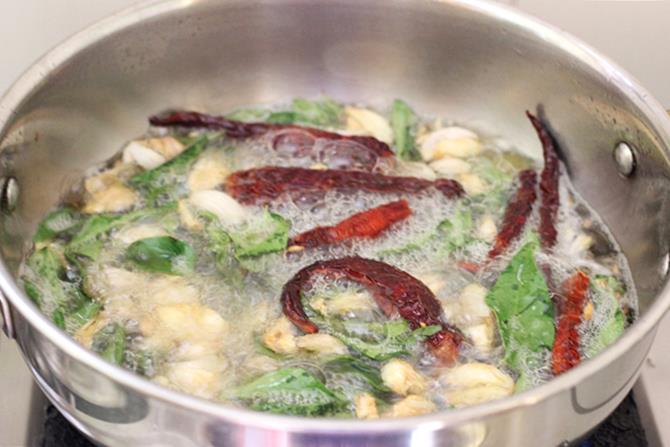
- When the garlic turns slightly golden, add in a handful of curry leaves. When the leaves turn crisp, turn off the heat. Add hing.
- Pour this to the pickle. Pour the rest of the oil we used for frying amla.
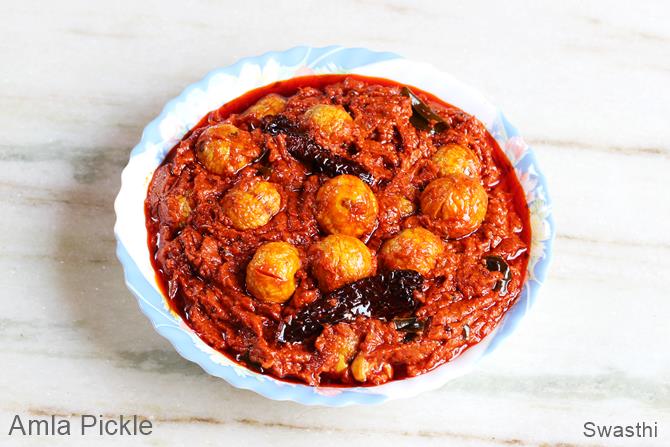
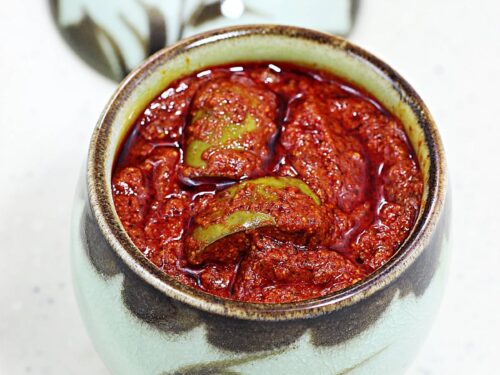
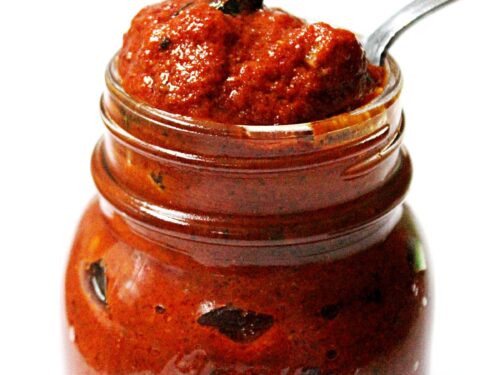
- Take a dry ladle and mix well. You can also use your dry and moisture free hand. But using your hand at this point may give you chilli and garlic burns. Cool this completely.Store Andhra amla pickle in Glass or ceramic jars. Do not use plastic or steel containers to store the pickle. Usirikaya pachadi will be ready to enjoy after 5 to 6 days. But this pickle gets its real taste only after 2 months, when the amla soaks up well in the spice mixture & ages. Though the pickle is good to keep at room temperature, I suggest refrigerating it as it helps to retain the flavors and color. Related Recipes
Recipe Card